

Hanging your mural is simple and straightforward when you follow the steps below. Before you begin, make sure your wall is clean, dry, and smooth to ensure the best possible finish. Your mural arrives divided into numbered panels, making it easy to plan your layout and apply each section in order.
Take your time during installation, align each panel carefully, and smooth out any air bubbles as you go. With a little preparation and patience, your mural will transform your space beautifully and provide a seamless, professional-looking result.
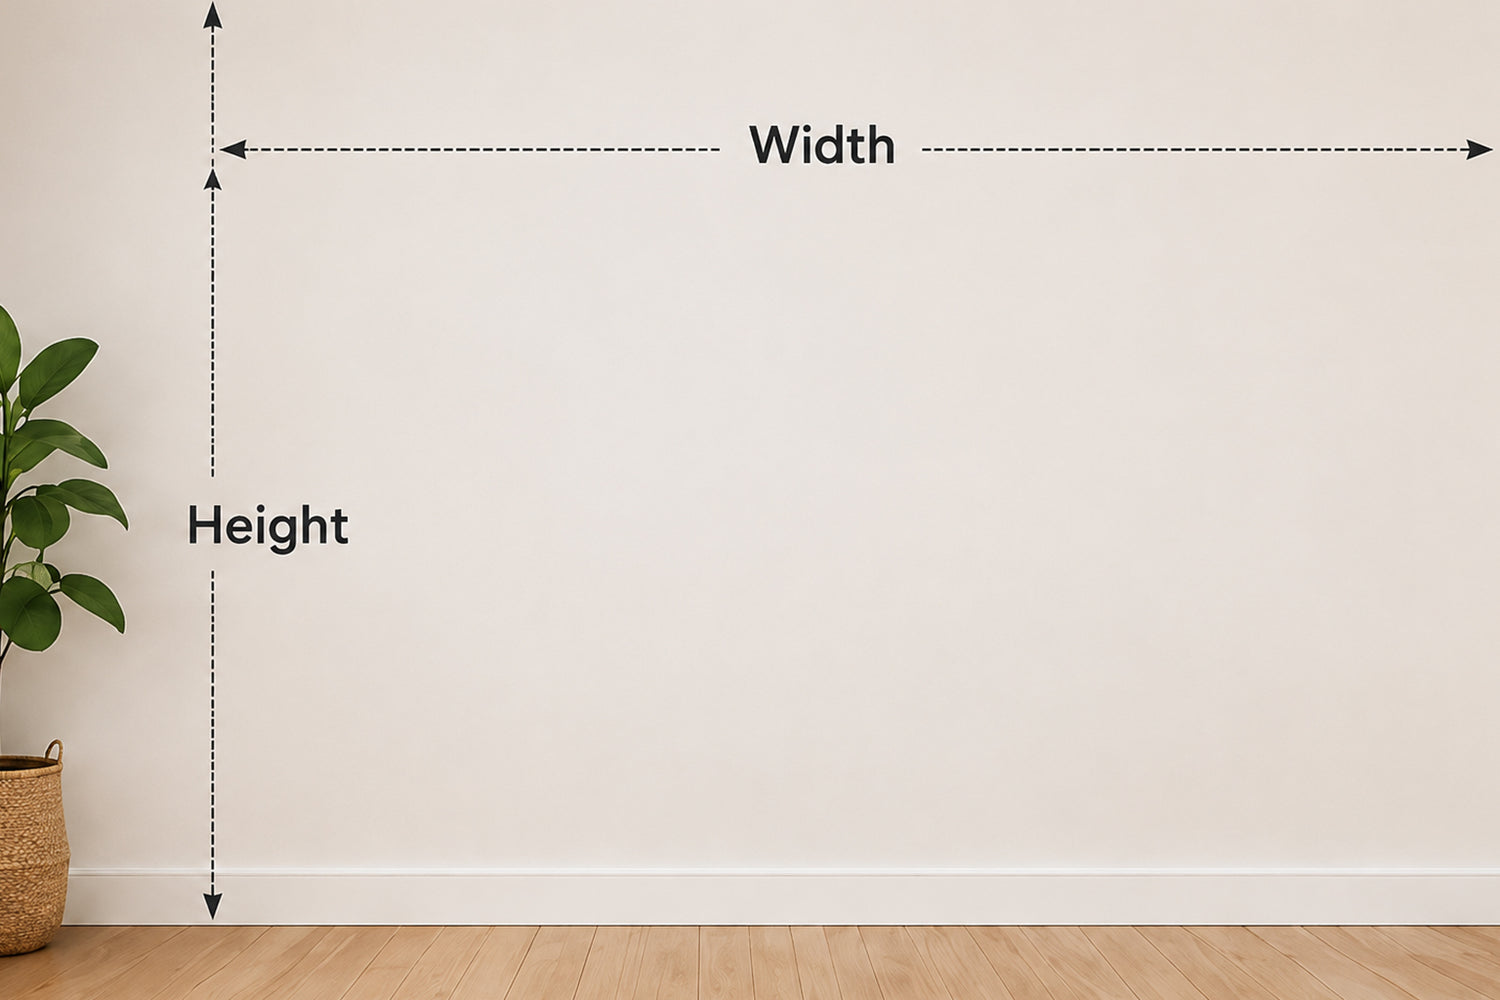
1. Measure Your Wall
Measure the width and height of your wall. Make sure to account for any tiny trim, baseboards or windows. Contact Summer Gray for help assisting with measurements and deciding how many rolls are required.
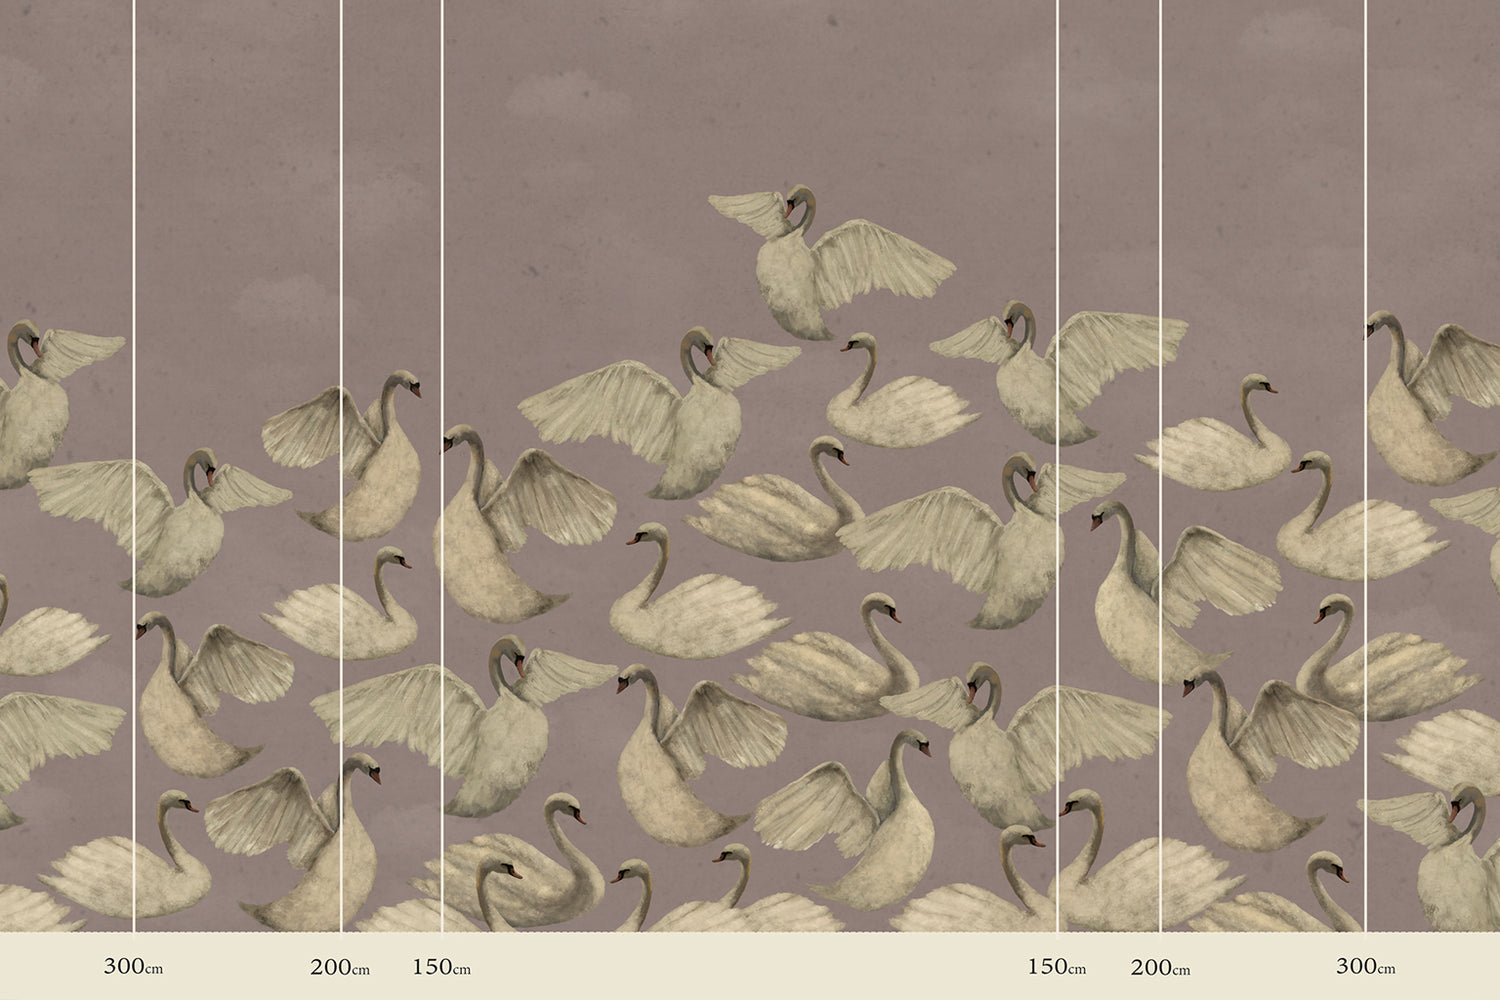
2. Select Your Size
Based on your wall measurements, you can choose from five preset mural sizes designed to suit a range of wall widths. Need a custom size? We can create one for you - simply contact info@summergray.nl for more information.
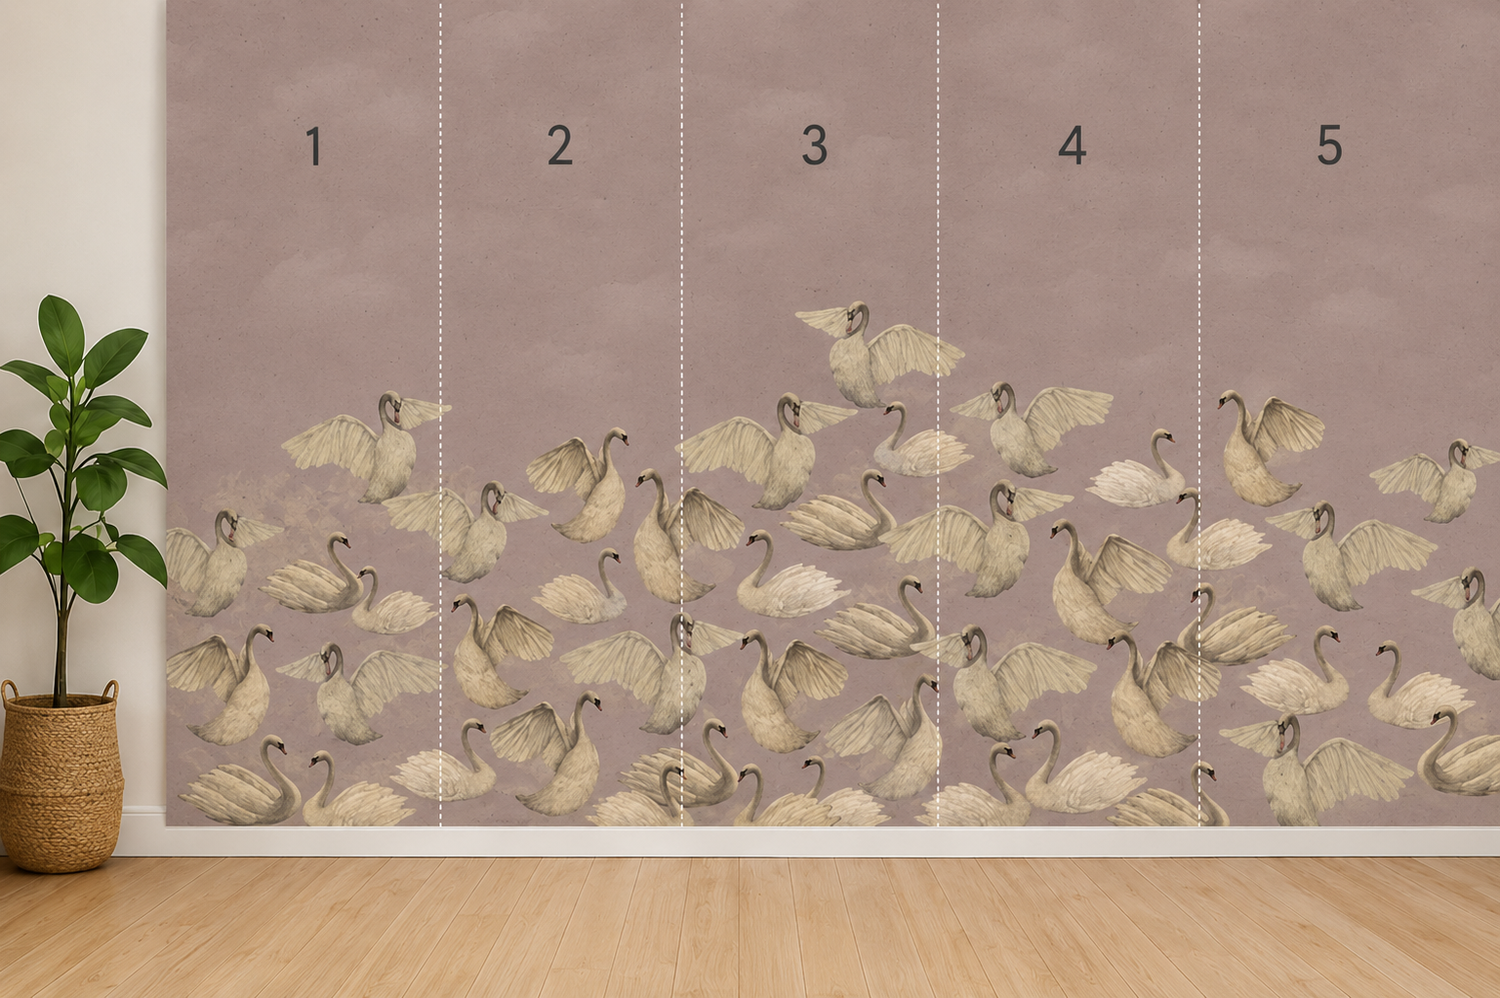
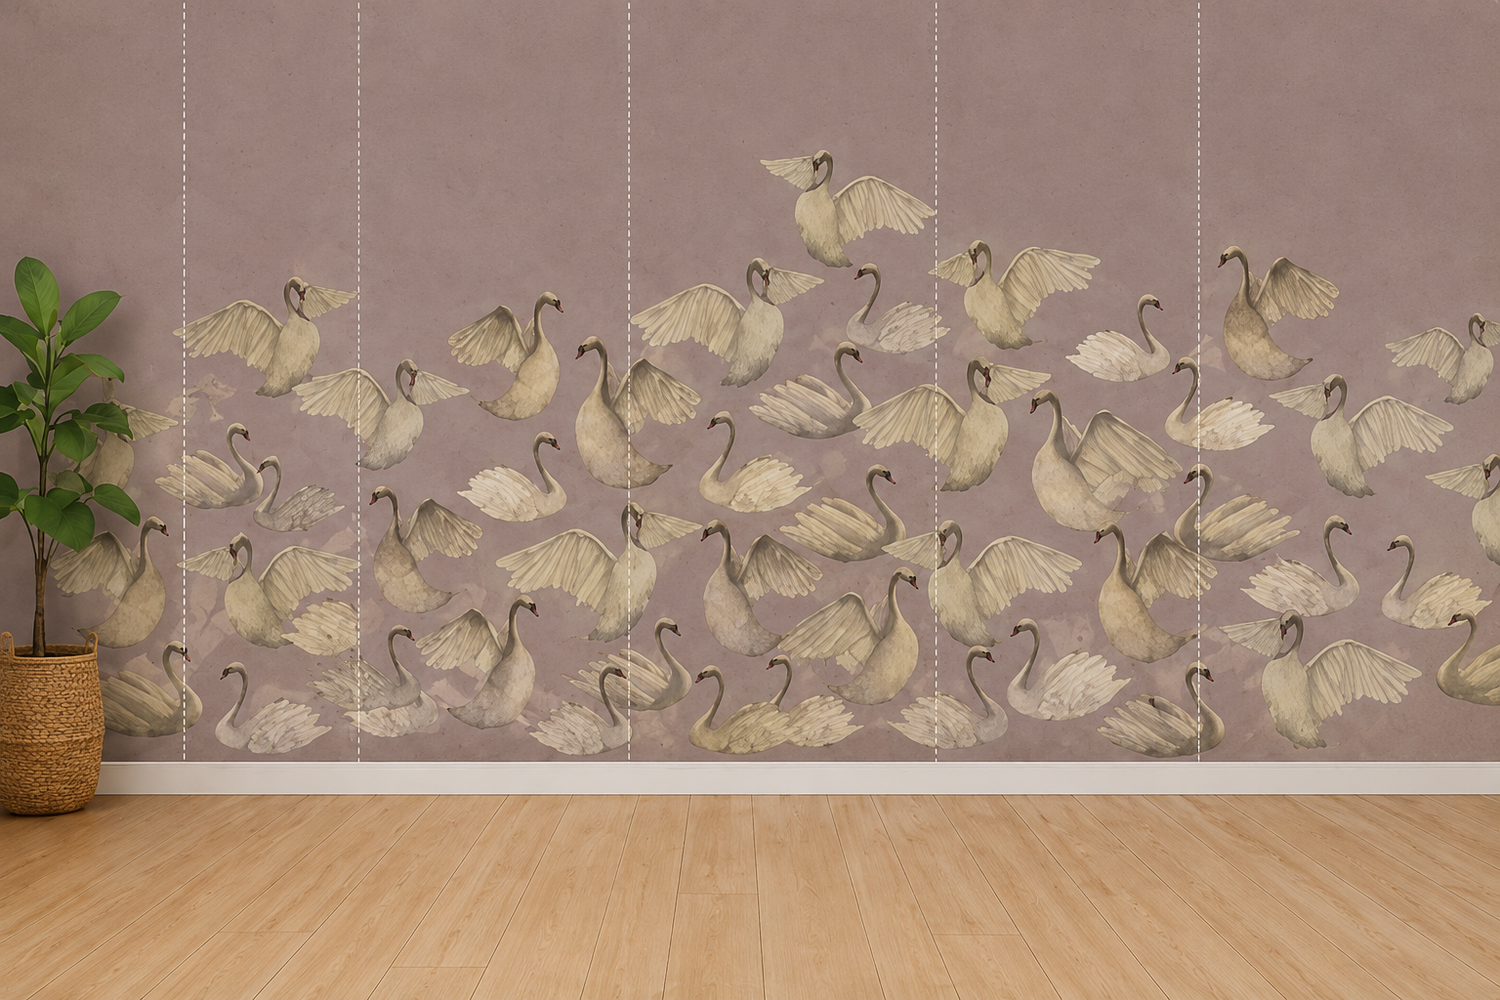
3. Plan Your Layout
Layout your mural panels on the floor in numerical order. Plan your starting point, we recommend starting from corner if there is one.
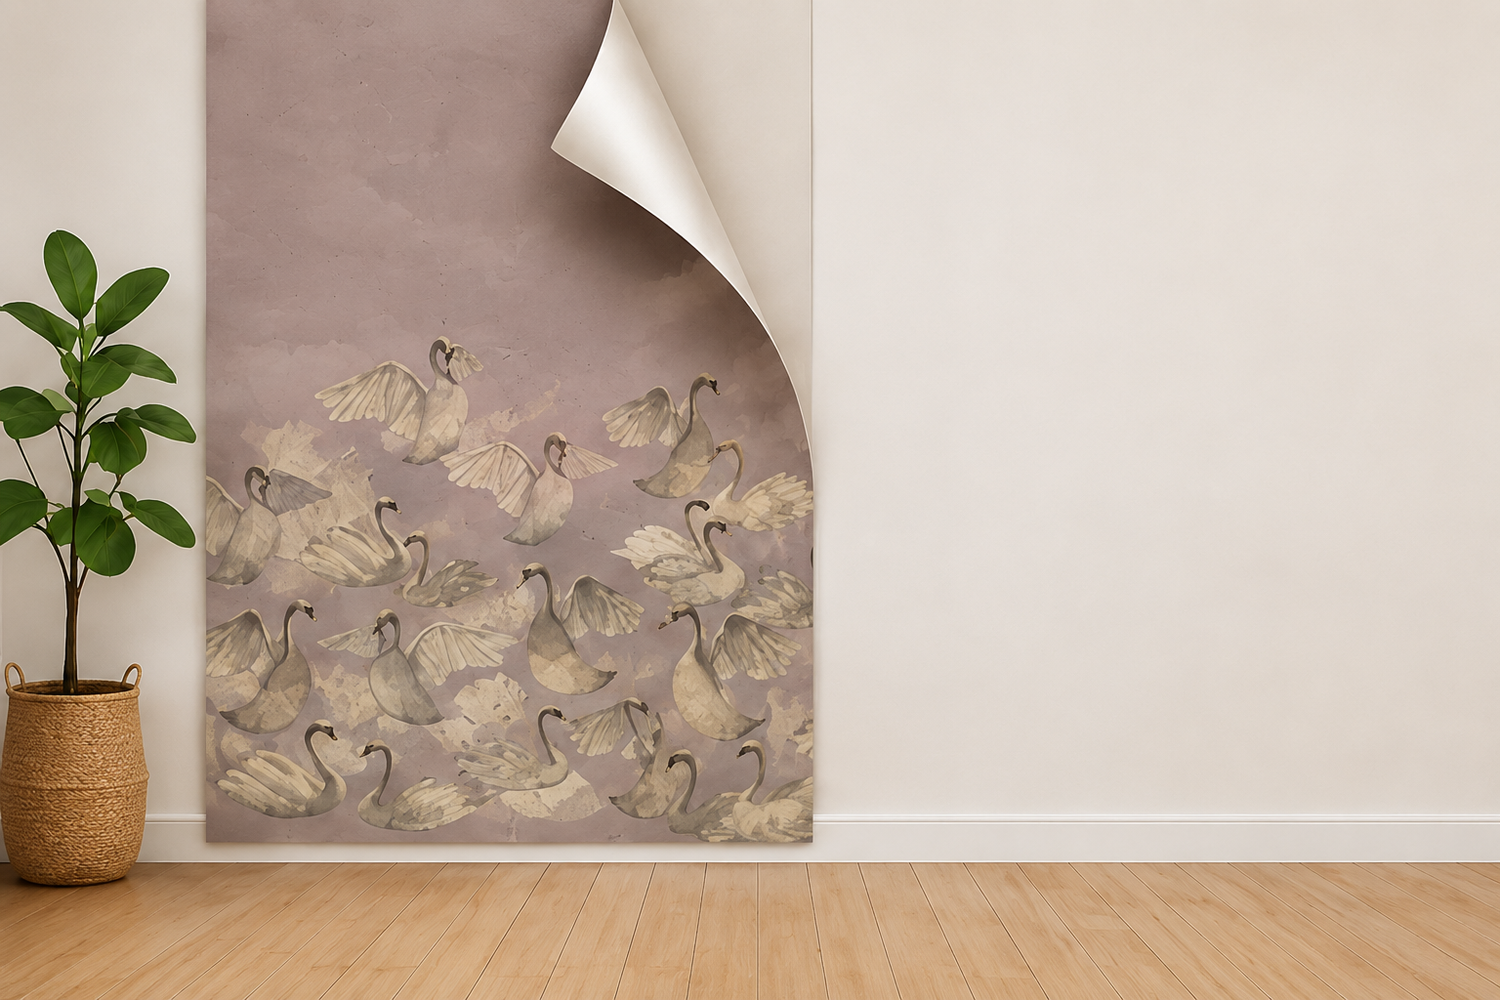
4. Apply the Mural
Brush on the paste to the wall first and apply the first panel from the top down. Smooth as you go using a soft squeegee or cloth to remove bubbles.
5. Align & Continue
Pair text with an image to focus on your chosen product, collection, or blog post. Add details on availability, style, or even provide a review.
6. Enjoy Your Space
Step back and enjoy your newly transformed space. Your mural is easy to clean and designed to last.
Summer Gray Murals
-
Night Swans - Charcoal
Regular price €160,00 EURRegular priceUnit price per€160,00 EURSale price €160,00 EUR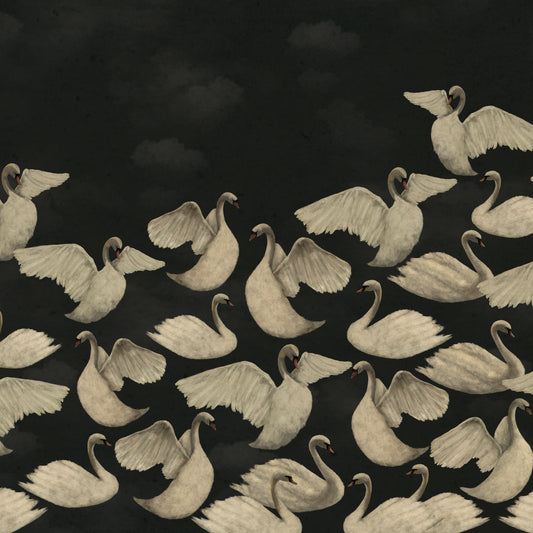 Mural
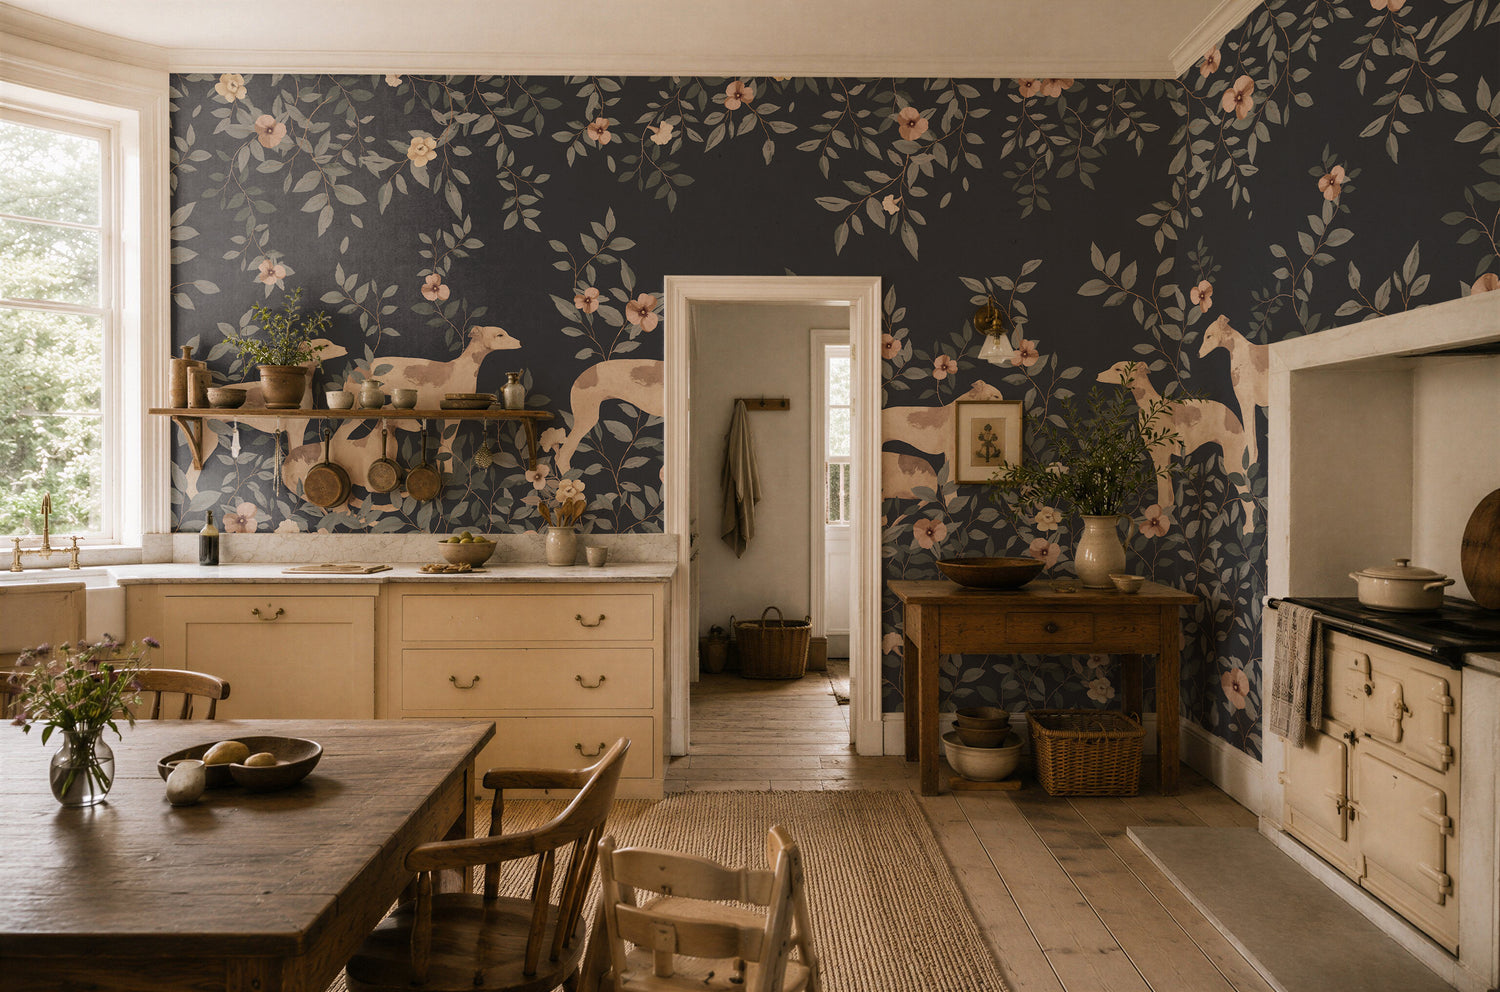
Mural -
Shadow Blossom - Cream
Regular price €160,00 EURRegular priceUnit price per€160,00 EURSale price €160,00 EUR Mural
Mural -
Quiet Meadow - Pink
Regular price €160,00 EURRegular priceUnit price per€160,00 EURSale price €160,00 EUR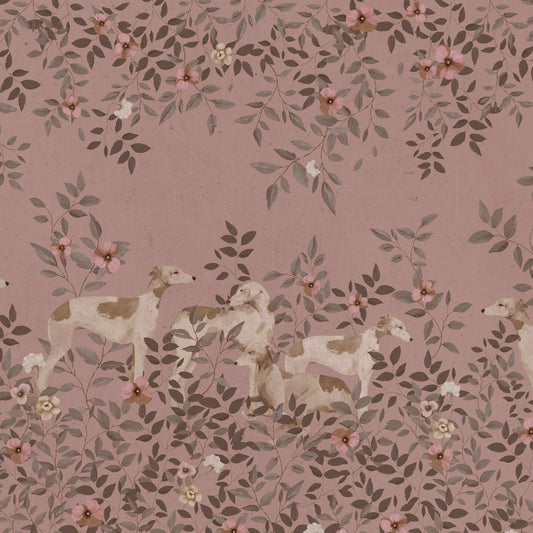 Mural
Mural -
Ponies for Hollie - Pale Green
Regular price €45,00 EURRegular priceUnit price per Mural
Mural


